First of all, I have to apologize to those of you who were waiting for this week’s baon plan. I just found out at school orientation this morning that classes will only run for half the day on the first week of school, so the little boy will actually be eating lunch at home. Toinks. So, since there won’t be any baon preps this coming week, I’ve decided to push back my lunchbox plan posting by a week. Thanks for understanding, you guys!
I will share a recipe today, though, one that I know some of you have been waiting for. I got super rave reviews from our family for the roast beef that I prepared for MrC’s birthday last May. It’s a really easy recipe, to tell you the truth. Still, it was the first time that I had ever made roast beef, and I was a little worried that I might kill the expensive piece of beef that we had purchased. Well, it turned out amazing. The photo below says it all.
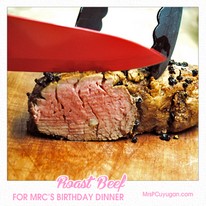
It’s all in the ingredients!
If there’s one super crucial thing I have to stress about achieving roast beef success, it’s this – buy quality ingredients. This is one of those dishes that you will really want to splurge on, and it all begins with an excellent cut of beef. You don’t necessarily need to go imported and super expensive here, too. The piece of meat I used actually came from Tenderbites in Makati Supermarket. Try to get fresh and not frozen meat, and yes this will make a big difference in the tenderness and juiciness of the roast beef.
One more thing you need to remember to do is be generous with your seasoning. Remember that everything just sits on the utside of the meat, and that there is a chance that none of the flavor will really seep through all the way to the core. So, best to be certain that the surface of the meat is completely covered in the dry rub, and that you don’t scrimp on salt, pepper, garlic and butter. It may seem like a lot, but trust me, it’s just right.
Start by prepping the beef
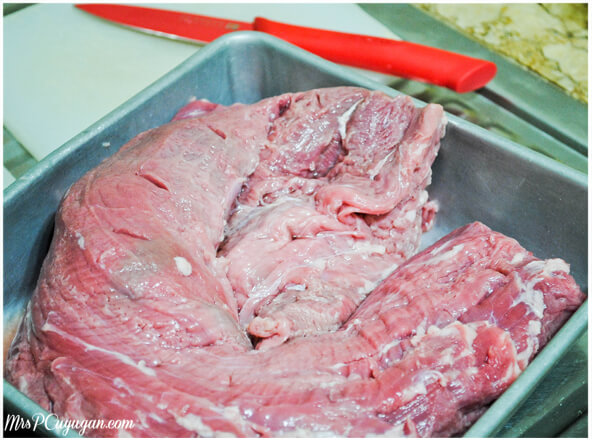
The first thing you need to do is wash your meat. You will want to get whatever slippy slimy stuff there is off of the surface. You will also want to trim off any excess fat and litid off as well. Don’t take all the fat off, though. That will help keep the roast beef tender. After washing, take a thin, super sharp knife and poke slits into the beef. This is where you will insert your garlic slivers. Make sure that the slits are deep enough – about an inch into the meat, and evenly spaced out. It’s totally up to you how much garlic you want to put, but in my opinion, more garlic = more fun.
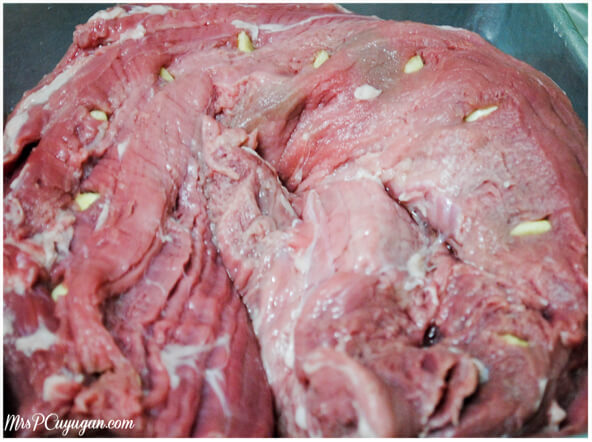
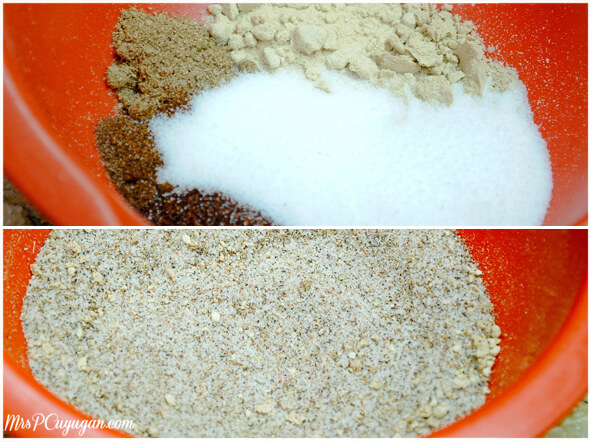
I actually let the meat sit in the fridge for about half an hour after I put the garlic in. I really don’t know if it made any difference in the taste, but I will do that again next time to check. While the meat is (literally) chilling, I mix up the rub. The inspiration for this rub came from this roast tenderloin recipe by The Pioneer Woman.
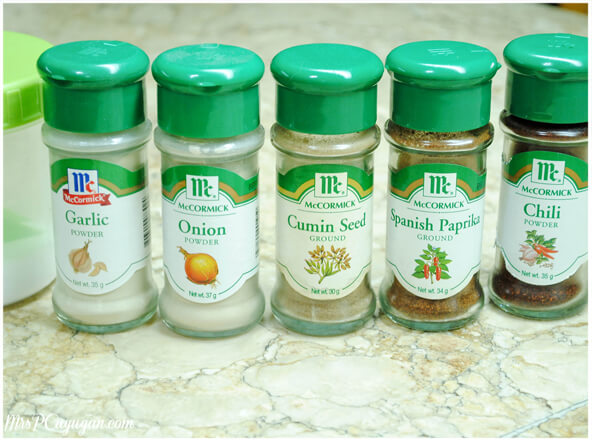
Again, this may look like a lot of salt, it really was just enough to season the nearly 2-kilo piece of tenderloin that I cooked. Next time I think I will measure out an extra batch of this, because I can totally use it as seasoned salt for things like pork chops and fried chicken.
With your hands, rub the seasoned salt into the meat. Don’t squeeze the beef so that none of the juices and garlic bits come out. Instead, just make as if you are giving your tenderloin a body scrub. Make sure you cover the entire surface of the meat.
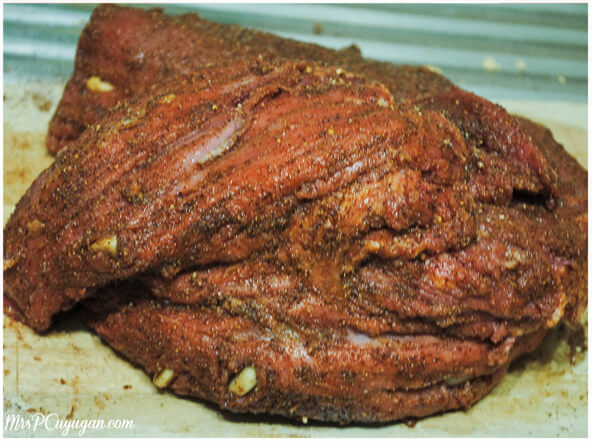
At this point, you will need to sear the beef. This gives it a nice brown color, and also helps to seal in the yummy juices. Honestly, I could have been smarter about how I did this step. See, the tenderloin we bought was pretty long. I could have opted to cut it into two or three smaller pieces to make it easier to manage. But no, I decided I would keep it whole, and would just adjust its position inside the pan to make sure that the meat is seared evenly.
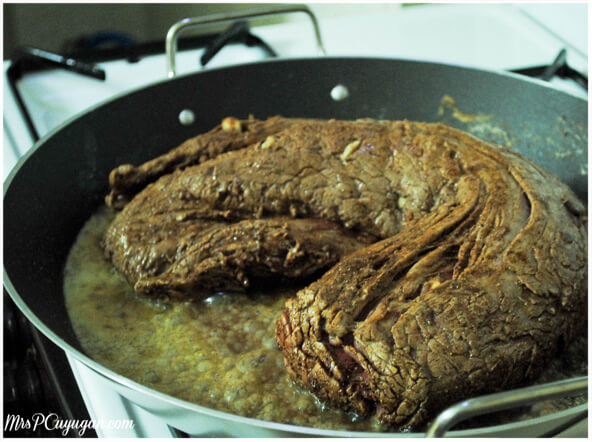
As you can see, that is a pretty big piece of meat. It didn’t fit into any of our pans and skillets, so I used a paella pan. This is seared in olive oil and butter, with the butter idea coming from Pioneer Woman as well. The butter gives the beef a golden brown color, and also adds a whole lot to the flavor of this roast.
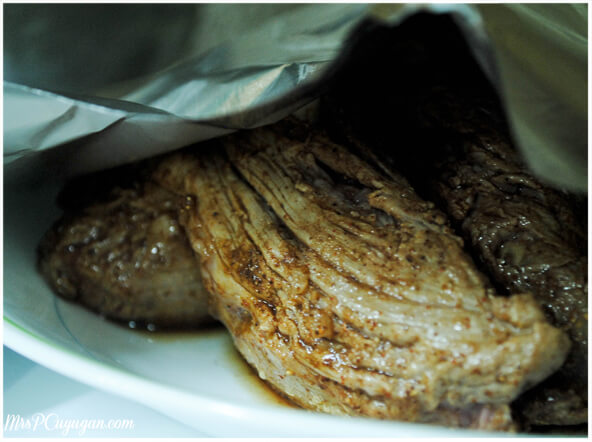
After searing, it’s time for the meat to rest. Put it on a plate and cover it loosely with a tinfoil tent. The resting allows the juices inside the beef to redistribute themselves evenly. I suggest that you take the opportunity to rest as well. 15 minutes is enough time for a quick shower, and I’m pretty sure you’ll be wanting one by now if you are cooking in the crazy Manila heat.
Time to Roast
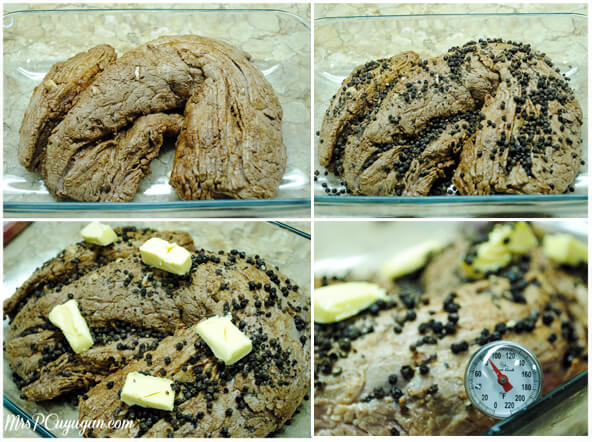
After resting for 215-20 minutes, the beef is ready for roasting. Preheat your oven to 475 degrees. Transfer the beef into an aluminum or glass baking pan. I use glass so that I can see what’s going on. Smash up some peppercorns and press the bits onto the beef. Then, top the meat with cubes of butter. I know, it doesn’t sound very good for you, but it is good.
Finally, stick a meat thermometer into the thickest part of the meat. This matters, because the internal temperature will determine the doneness of your roast. If you like yours on the more well done side, then you can totally skip this part and just time your cooking. But, if your aim is to have it perfectly pink inside, you need the thermometer. Fair enough?
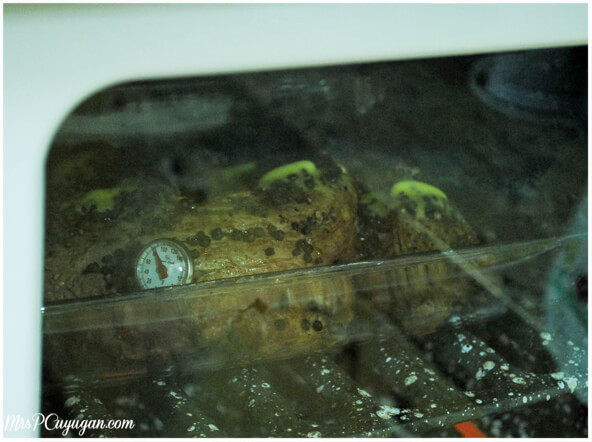
Take your meat out right before it hits 140 degrees. Do not slice this right away. Yes, you will need to let it rest again. If you slice now all of its juices are gonna end up on your cutting board and you will end up with dry, tough beef. Cover the meat with foil while it sits.
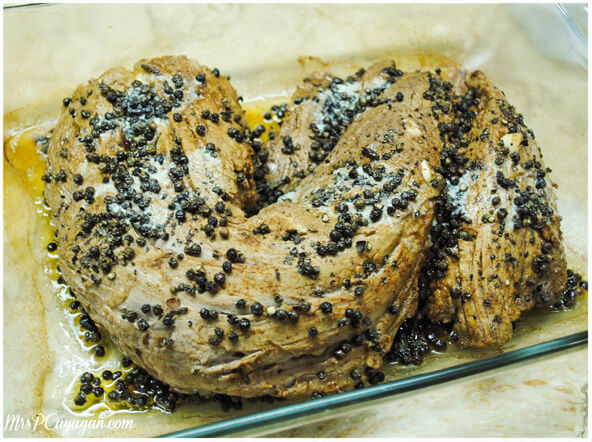
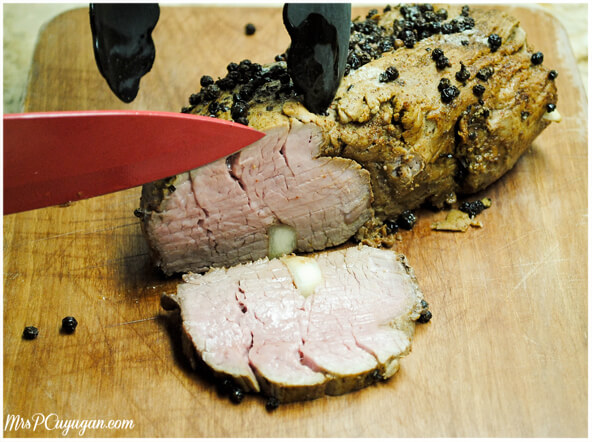
When you finally cut this up and put a piece in your mouth, it will totally be worth the wait. Remember to cut with a sharp knife. Nothing ruins a good roast better than a dull knife. I always turn to my brother for cutting and carving. Not only is he good at it, he loves doing it, too.
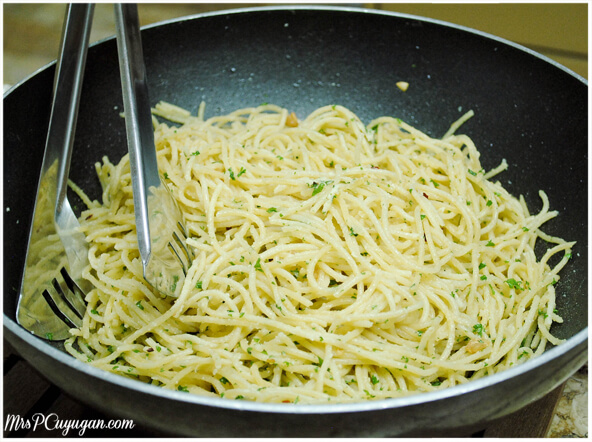
I served this up with a spaghetti aglio olio. We also had warm french bread, which was perfect for mopping up the peppery butter and drippings that were lying at the bottom of the baking pan.
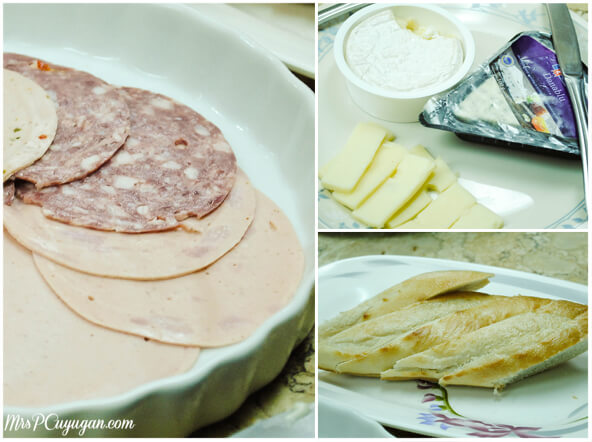
We also prepared a platter of cold cuts and some of MrC’s favorite cheeses for everyone to munch on while we were cutting up the beef. Since it was a celebration, we also had a nice bottle of red wine. It was such a nice dinner, and I’m pretty sure I outdid the meal I prepared for MrC’s birthday last year.
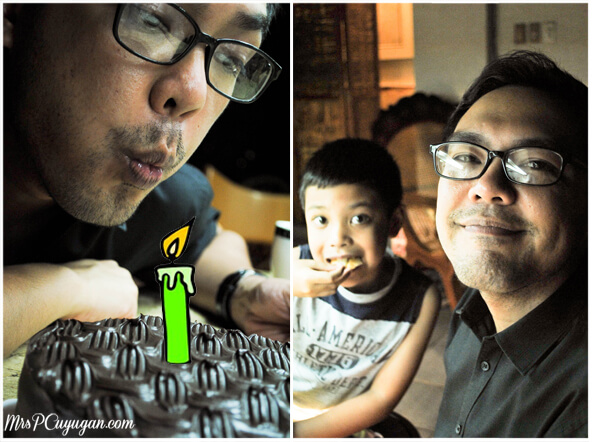
I love that I get to prepare these labor of love meals for my husband’s birthday. He loves to eat, and he enjoys the food, so I’m all the more encouraged to come up with a yummy feast. Honestly, with the way this spread turned out, the pressure is so on for next year.


- 1.5-2kg Beef Tenderloin
- Half a head of garlic, peeled and cut into slivers
- 2 tsp Salt
- 1/2 tsp Onion Powder
- 1/2 tsp Garlic Powder
- 1/2 tsp Cumin
- 1/2 tsp Paprika
- 1/2 tsp Chili Powder
- Olive oil for frying
- 1/2 stick + 2 tbsp Salted Butter
- 1/4 cup Whole Peppercorn
- Wash the meat and pat dry. Trim off any excess fat and muscle from the beef's surface.
- Slice 1" deep, evenly-spaced slits into the meat. Insert a garlic sliver into each slit. Let the meat sit in the refrigerator for half an hour.
- Prepare the dry rub my combining 2 tsp salt with the remaining spices in a bowl. Rub the mixture all over the surface of the beef, making sure that it is completely coated.
- Heat olive oil in a large skillet. Add 2 tbsp of butter into the oil. Sear the beef on all sides. This should take anywhere between 8-10 minutes, just until the meat is brown on the surface. Do not overcook.
- Transfer the beef to a plate and let it rest for 15-20 minutes under a tinfoil tent.
- After the resting period, transfer the meat to a glass or aluminum baking pan or a roasting pan. Pound the peppercorn to crush, and press them into the meat. Top the roast with 1/2 stick of butter, cut into cubes.
- Roast the beef in a preheated oven at 475 degrees for approximately 15 to 20 minutes, or until a meat thermometer gives a temperature reading of just under 140 degrees.
- Remove the roast from the oven. Let the meat rest wrapped in foil for at least 30 minutes before slicing.
- This beef is good for sandwiches, or served with rice.
- You can opt to make a gravy out of the drippings left in the pan after searing the meat, and in the baking pan after roasting.