We’re having a get-together at home tomorrow, and my mom asked me to make something for dessert. We have this big container of frozen mangoes that she really wants to use already, so we decided on a mango mousse with graham cracker crust.
I’ve never made this before so I went to my favorite website, marthastewart.com to look for a recipe. I found a recipe for a frozen mango cream cake recipe with macadamia crust that looks really good. Since we already bought bags of graham crackers, I decided to use a different recipe for the crust.
I’m feeling lazy today since it’s a Saturday, so I wanted a no-bake recipe. I ended up using this one from All Recipes.
No-Bake Graham Cracker Crust
- 1 1/2 Cups Graham Cracker Crumbs
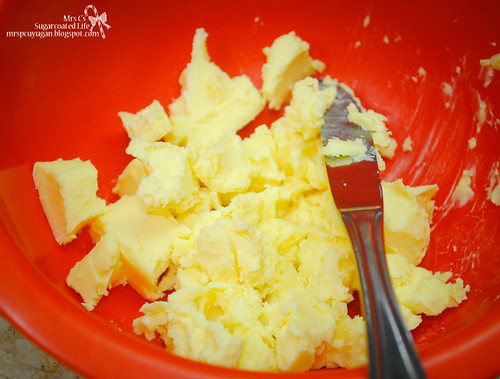
- 6 Tbsp Butter, Softened
- 1/3 Cup Granulated Sugar

NOTE: Don’t forget to crush the graham crackers if you didn’t buy them already crushed, and soften the butter beforehand. It helps to cube the bar of butter so it softens quickly, although to tell you the truth, getting butter all soft and gooey has never been a problem in this hot country.
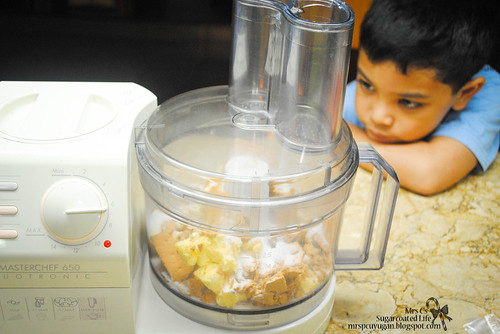
Combine all the ingredients in a bowl. Or, if you are lazy like me, bring out your handy dandy food processor and pulse away!
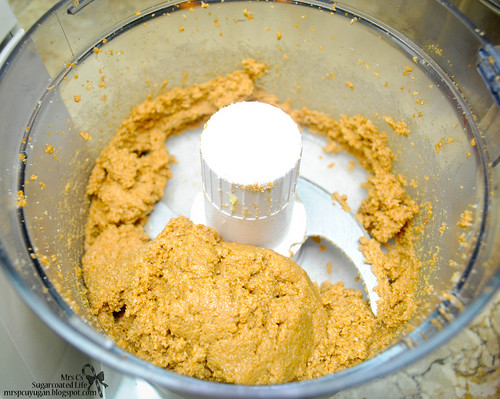
Press the crust firmly into the bottom and sides of a 9″ pie plate. You can use a spoon, a fork or your hands. I use a fork and spoon combo – the fork to distribute everything evenly, and the spoon to smooth out the surface. I don’t really like to get my hands dirty, and I find it’s more hygienic. Yes, there’s a little bit of OC in me.
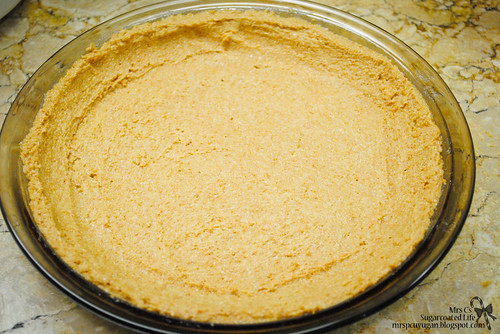
Once it’s all nice and pretty, cover with plastic wrap and refrigerate for an hour or until set. Make sure the plastic wrap doesn’t touch the crust ok? Otherwise parts of it may stick to the plastic once you remove it.
And that’s it, nice and easy! You can fill this baby up with a whole lot of different things. My favorite is still Blueberry Cheesecake, but I really hope this Mango Mousse will come in a close second. Keeping my fingers crossed!
What other fillings would you recommend?
Nice recipe! When I make Mango Float I usually don’t crush the graham crackers anymore and just line them up on the pan. But I use a rectangular pan so it’s easy to line them up. With a circular one like this, it’s really better to use this crust. Will try this out. 🙂